
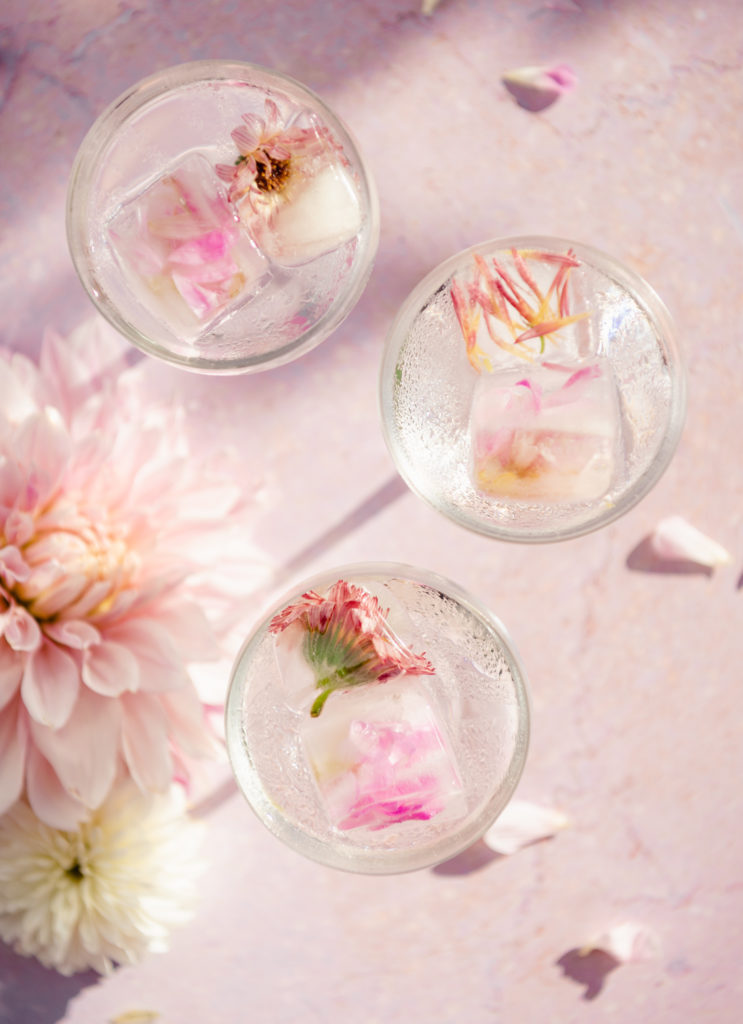
Edible Flower Ice Cubes
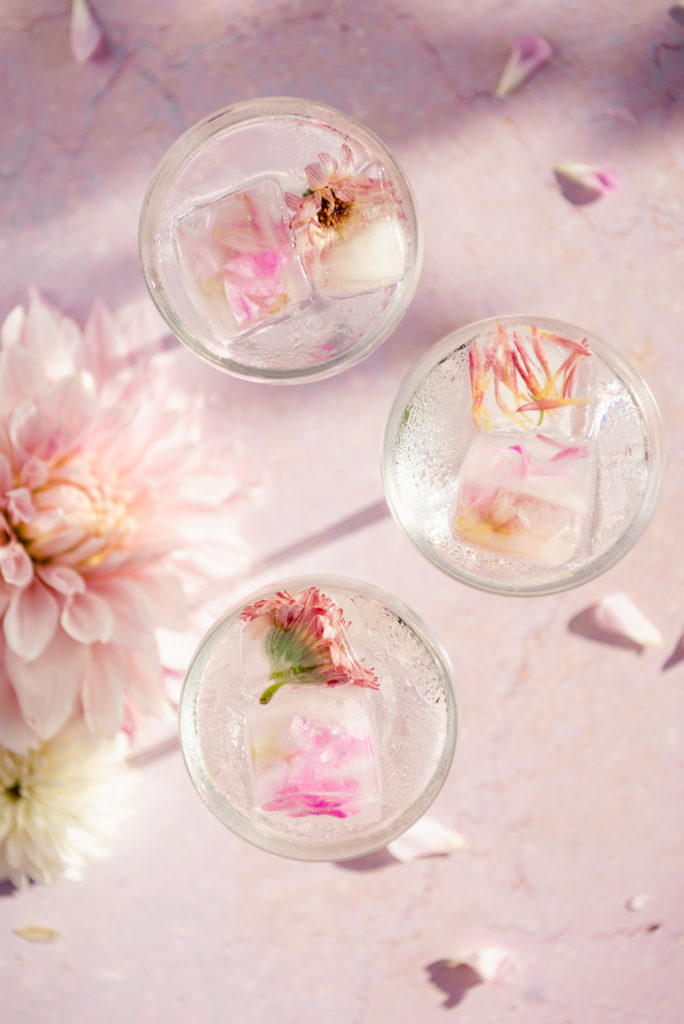
Make that mocktail or cocktail extra luxe.
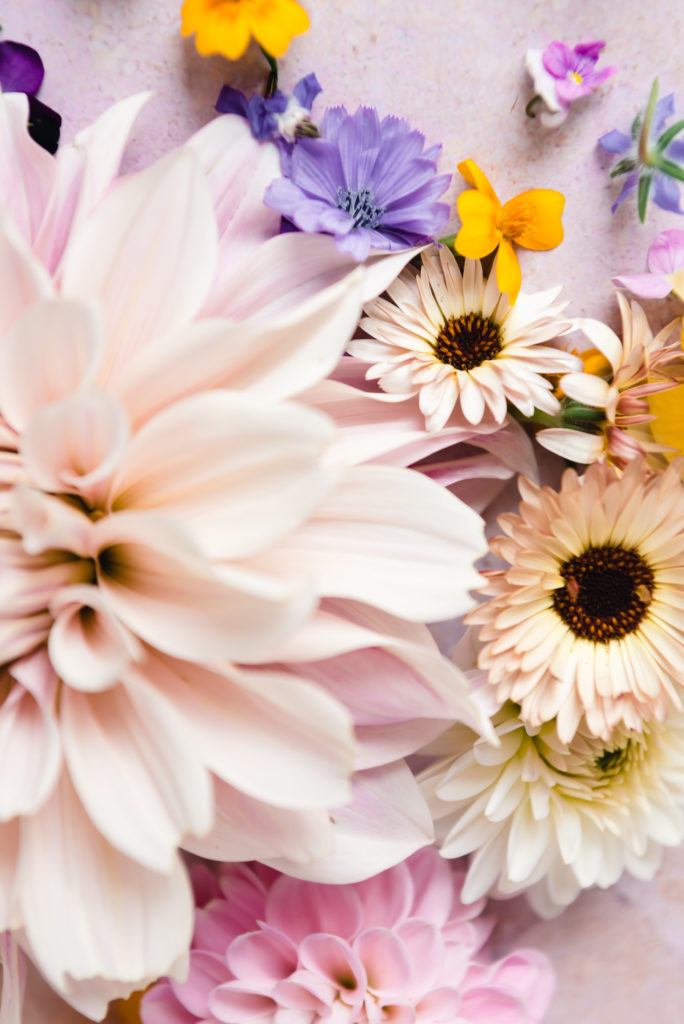
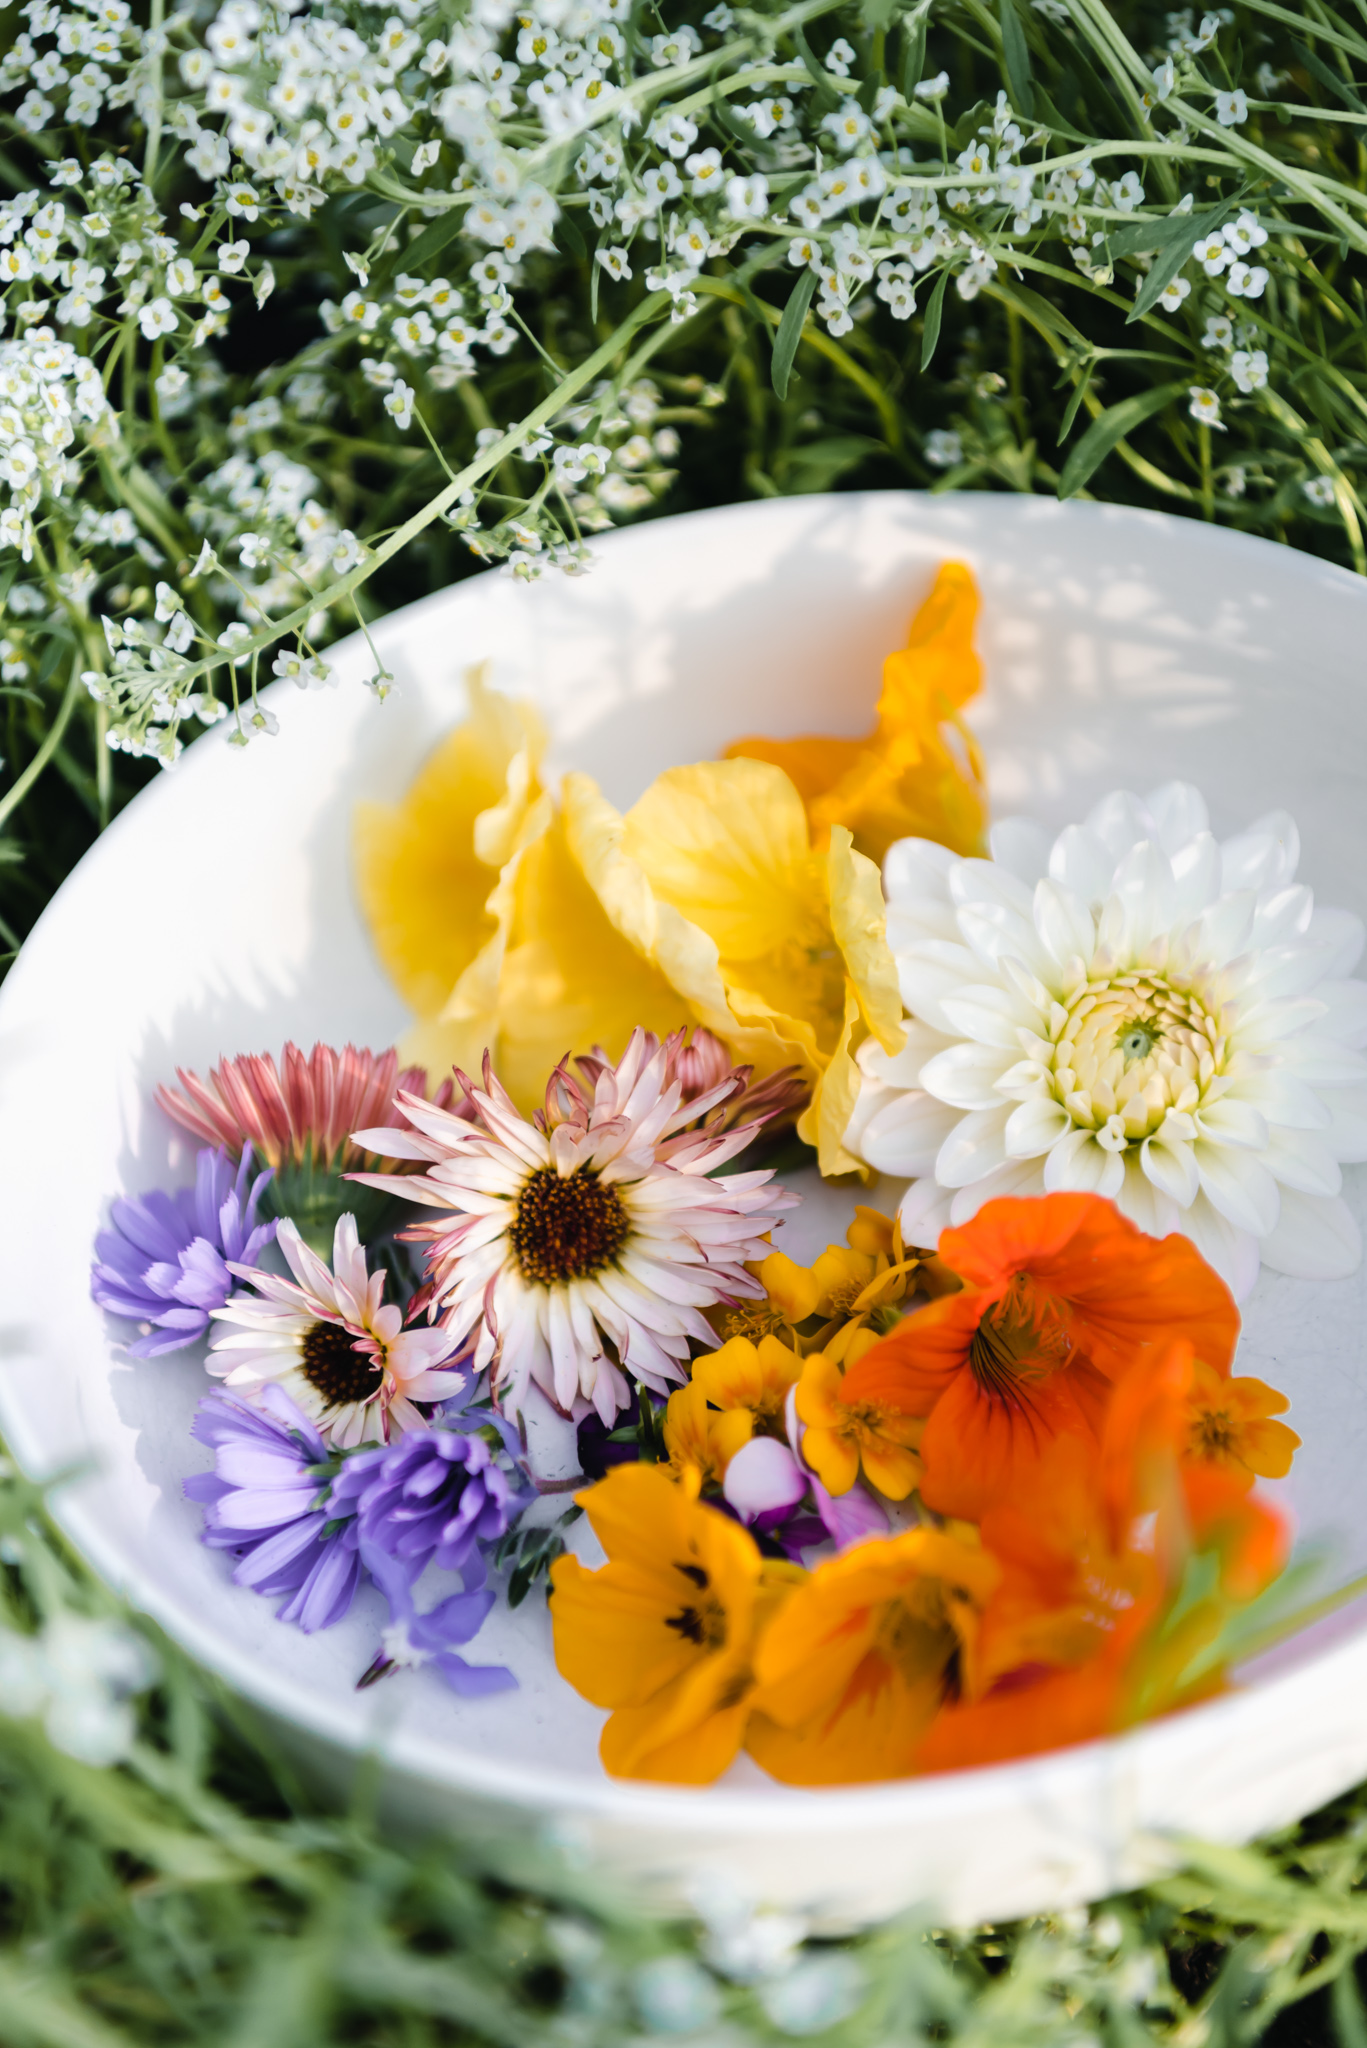
In the garden I often think to myself “wow, this is so luxurious”. It happens when I harvest a gorgeous Black Futsu pumpkin that I wouldn’t be able to find in any grocery store. Or when the beds and planters are overflowing with edible flowers and dripping with bees and pollinators.
Maybe I am too much of an empath, but it’s actually hard for me to harvest flowers when I see the pollinators gathering so much pollen and buzzing happily along. It’s no secret that bees and pollinators need all the help they can get these days, and taking even a single flower feels unnecessary. If anyone would like to psychoanalyze why I also constantly name inanimate objects, I’d be open to your thoughts.
All that being said, I ponied up the courage to harvest a small bowl to make edible flower ice cubes to celebrate the bright colors of summer. I love to use them to spruce up a simple glass of sparkling water. They can be as fancy as you like, or just a simple little everyday luxury.
What flowers are edible for ice cubes?
This is the extra fun and creative part! Edible flowers can be made year-round with fresh and dried flowers. Here are just a few of my favorites that work well for edible flower ice cubes:
- Marigolds
- Gem Marigolds
- Nasturtium
- Rose
- Dahlias
- Borage
- Calendula
- Pansy / Viola
- Chamomile
- Lavender
- Lilac
- Snapdragon
- Dianthus
- Cilantro
- Basil
- Sage
- Rosemary
- Chicory
How do you freeze edible flowers in ice cubes?
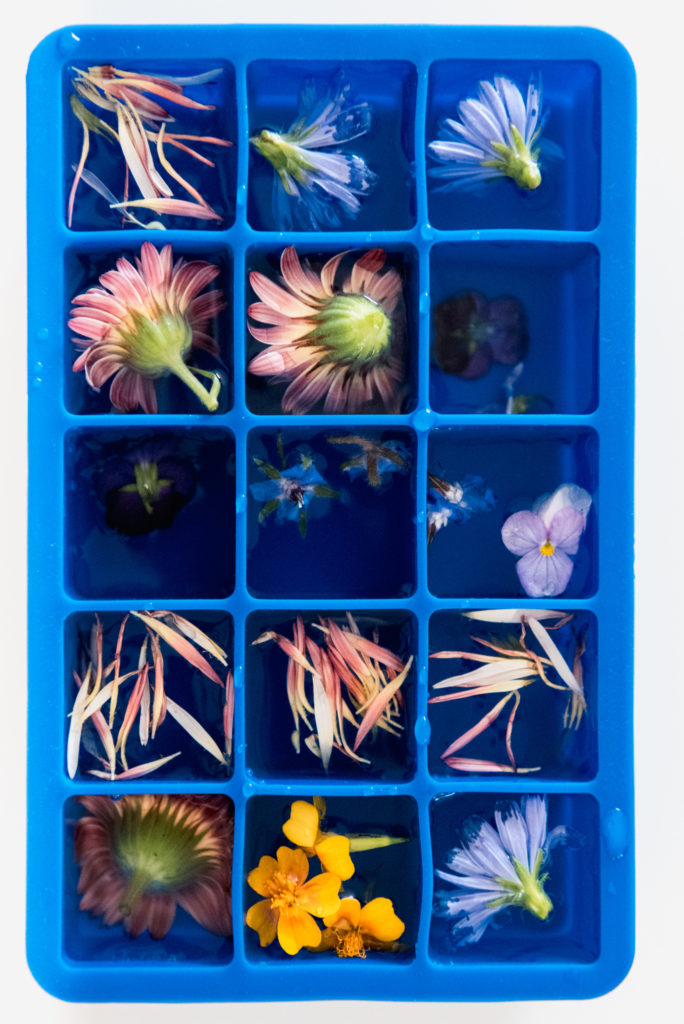
- Gather the edible flowers: Harvest the flowers before the heat of the day sets in. Morning is best as the flowers begin to open. Make sure and check for any bees or other little critters that might still be waking up in the flower.
- Pick your ice cube tray: I like to use BPA-free, extra large silicone ice cube trays to make edible flower ice cubes. You can use whatever size you like, but these give the flowers a little extra room.
- Arrange in layers: Begin by arranging your edible flowers in the ice cube tray in whatever pattern you like. You can add individual petals or whole flowers. The flowers will likely float so it’s best to freeze them in layers. Fill each cube halfway with water and freeze for at least one hour. Add the additional water to fill each cube and freeze until solid.
- Enjoy: Use the edible flower ice cubes in your favorite mocktail, cocktail, sparkling water or soda. And don’t forget about the life-changing switchel. You can also make extra batches and use them as wine chilling ice cubes for a special event.
Questions about edible flowers ice cubes
Can edible flowers be frozen?
Yes! Freezing them in ice cubes is the best way to preserve their vibrant color.
How long do ice cubes with flowers last?
They’ll last as long as regular ice cubes would, however it is recommended to use them within 2 months. They can start to get freezer burn or take on the smell of the freezer after too much time.
Can edible flowers make you sick?
Not all flowers are edible, so be sure to check before eating. Make sure and harvest only flowers grown for human consumption and where you know their source. I would not for instance, harvest edible flowers from a traditional garden center as they have been sprayed with pesticides. Forage responsibly!
Are edible flowers good for you?
Yes! Many edible flowers are not only delicious but nutritious. Plus, they’re good for your mood. How can you be crabby drinking a gorgeous fizzy drink filled with flowers?
How long does it take for the edible flower ice cubes to freeze?
Depending on your freezer and the size of the ice cube, anywhere between 4-6 hours.
Edible Flower Ice Cubes
Ingredients
- 1 cup edible flowers
- water
Instructions
- Using a clean ice cube tray, arrange edible flowers in each cube.
- Fill each cube halfway with water and freeze for minimum 1 hour. The flowers will float in the water which is why we work in batches.
- Fill each cube to the top and freeze again until solid.
Did you make this recipe?
Please let me know how it turned out for you! Leave a comment below and tag @growingwithgertie on Instagram.
Some of the links listed are affiliate links, which means I get a little commission when you click on the links at no additional cost to you. Thanks for your support!