I’m here to tell you that composting at home is not hard.
You don’t need a phD in soil science, a bunch of fancy equipment or a ton of extra time on your hands. Set up your home composting bin once, and you’ll divert hundreds of pounds of valuable food scraps from the landfill every time you make a meal.
I’m a firm believer that if everyone made small changes in their lives in the name of environmentalism, we would see massive shifts globally. It’s all the little things we do, the little changes, little choices, little actions that add up to big change. To me, this is so much more attainable than thinking about our global environmental issues as one big problem to tackle. If you want to try making one little change, start here with home composting.

How to compost at home
There are tons of ways to do home composting, and over the years I’ve tried most of them. In this post I’ll share what has worked the best for us. Since we’ve started diverting all our food scraps to compost, we generally end up with less than one bag of garbage per week. Sometimes we even skip taking the bin to the curb.
Supplies
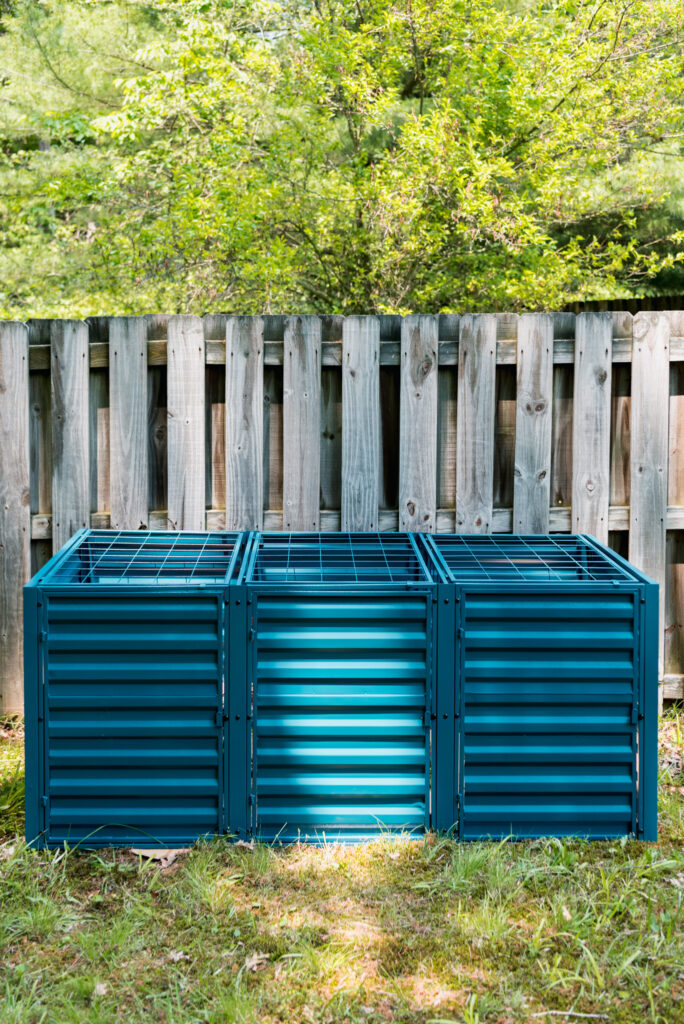
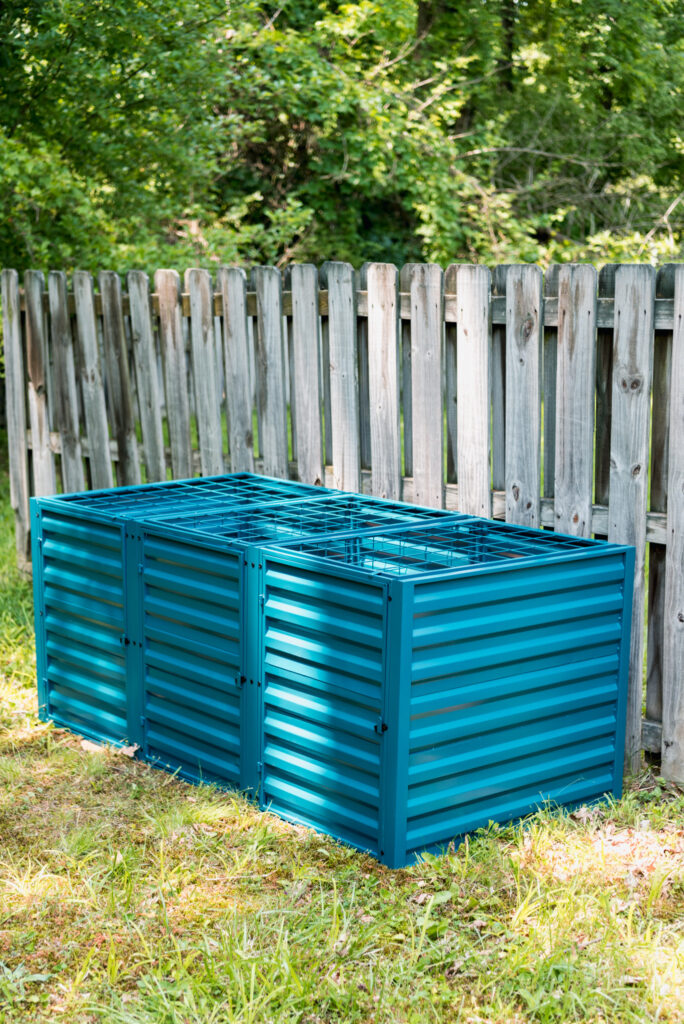
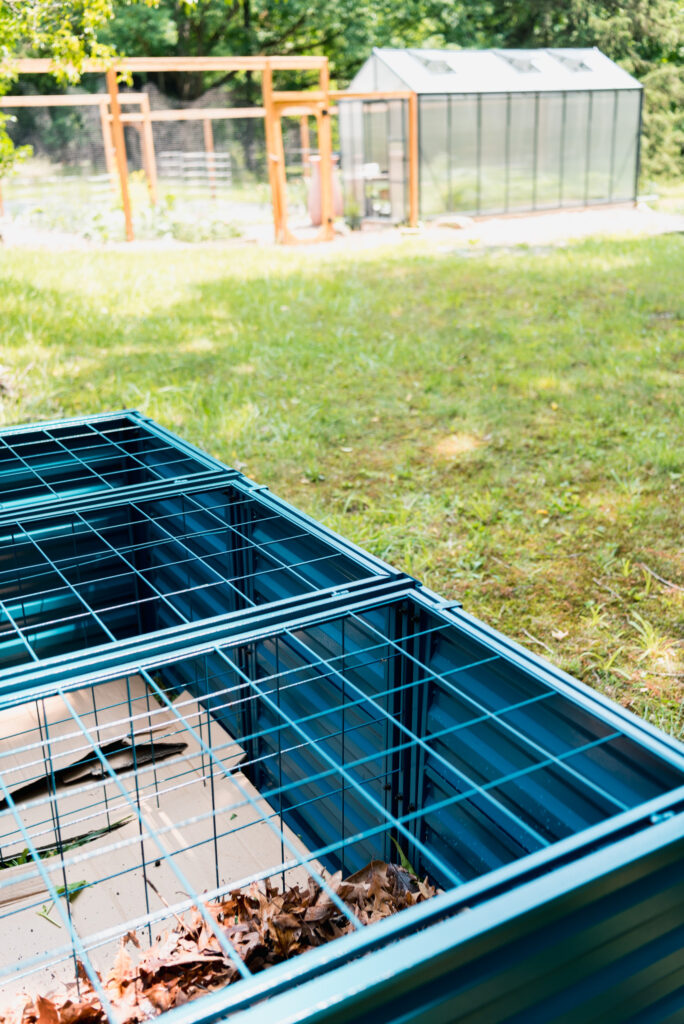
1. Compost bin: My current compost bin is the Demeter 3-Bin Composter from Gardener’s Supply Company. I love this bin because of it’s size, ease of use and general aesthetics (it comes in both blue and green which makes it really hard to choose!). I was able to assemble the whole thing by myself in about an hour, and even start the pile on the same day.
With this composter, I can have 3 piles going at the same time, in different stages of maturity. As each pile becomes available, I can access the finished compost really easily through the door on the front of each bin.
I’d recommend this one from Gardener’s Supply Company.
2. Compost bucket: I found a nice Dansk style pot at a thrift store and because it’s cute and functional, I don’t mind it sitting on the countertop everyday. If you’re going to be making composting a part of your daily life, I say find something you think looks nice. If I was going to buy a new one, I’d go for this one. We’ve found a smaller size is better for us because it forces us to take out the compost before it gets smelly. Depending on how much we’re cooking, we empty ours once or twice a week.

Start Composting
Outside: Install your compost bin where you know you’ll have easy and regular access. If you park it two acres away behind a muddy pond, you will not be inclined to do any of the tasks associated with composting. If it’s out of sight, it’ll be out of mind. We installed ours right next to the garden, tucked in by some mature landscaping and an easy walk from the garden gate.
Inside: We line the inside of our compost bucket with strips of the weekly local newspaper for a plastic-free liner. Then, when it’s time to empty the scraps, the liner goes with it providing some carbon for the mix. It’s easy to give it a rinse after each use but sometimes it’s not even necessary.
The composting process will happen faster when the pieces in the compost are smaller. Less surface area = faster decomposition. For example, an entire head of cabbage will take a lot longer to break down in the pile compared to the same size head chopped into smaller pieces. If you have the time and patience, chop your scraps into bite-size bits for the organisms in the pile.


What to compost
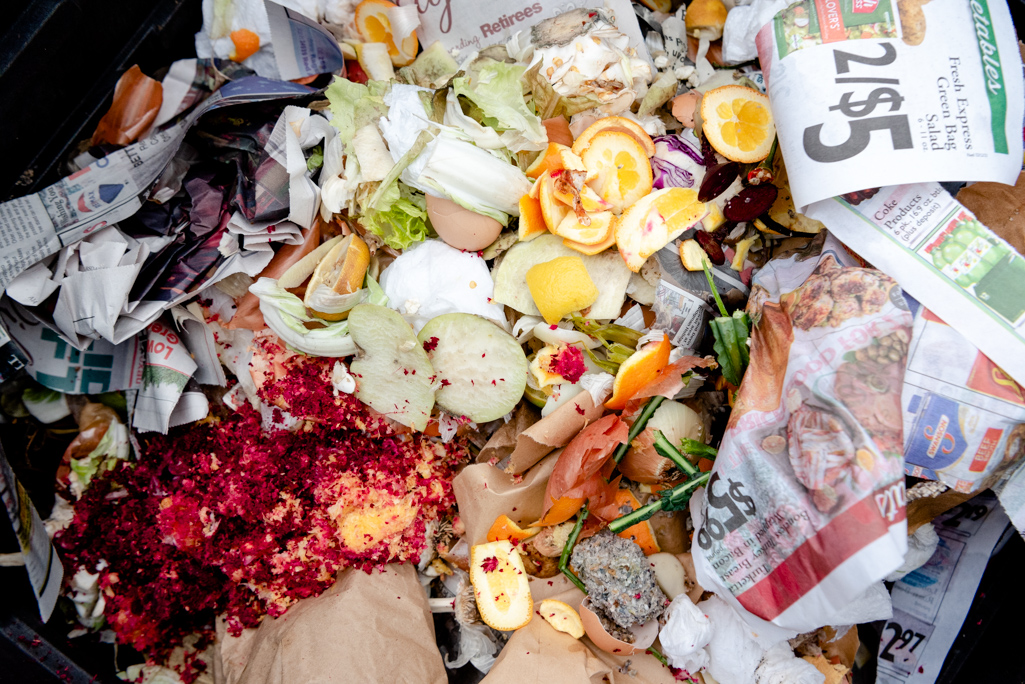
A happy compost needs green material, brown material, water and air.
Greens are materials high in nitrogen that will heat up your compost pile. Browns are carbon and will be the food source for all the organisms that turn your pile into compost. Browns also help to keep air flow in the pile. An easy way to think about it is that greens are fresh materials and browns are dead materials.
I am for a ratio of 75% browns, 25% greens, all mixed up together in the bin.
Greens:
Vegetable & fruit scraps
Eggshells
Coffee & tea grounds
Browns:
Paper of all kinds (non waxy)
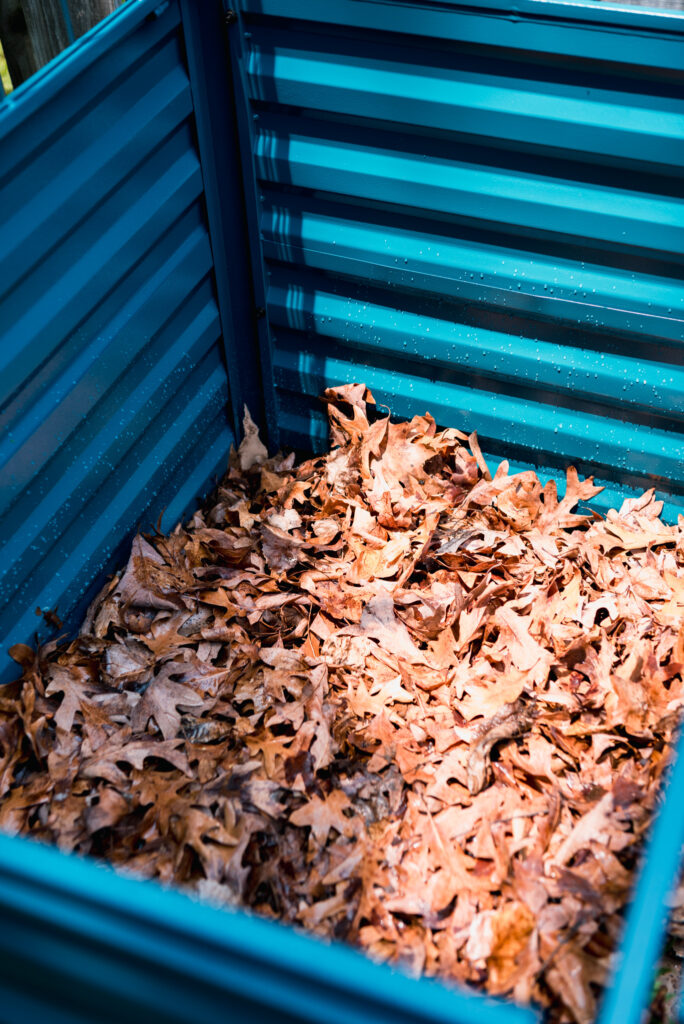
Fall dried leaves
Paper towels
Dryer lint
Cotton fabric
Do not compost:
Meats
Feces
Dairy
Oils
Maintenance
Begin your compost bin with a layer of dried leaves if you have them. These break down the fastest and the worms that find their way from the ground up will love them. Start adding your food scraps to the pile, making sure to always balance the greens with extra browns.
Twice a season, give the compost a boost of air by turning the pile in the bin. Using a pitchfork or shovel, gently lift from the bottom up to reincorporate any dense spots and bring some air to the organisms doing all the work.
During especially dry spells, your compost may need a little water. Again, those organisms are working hard and need some water! Water until the pile is the consistency of a wrung out sponge.
The pile will get hot towards the middle with the right ratio of greens, browns, water and air. This is a good thing and means that the decomposition process is happening.
Harvest
If you’re regularly adding to your compost pile and providing the basic maintenance described above, you’ll be able to harvest compost from your bin twice a year. Open the latch on the front of the bin, and with a shovel begin scooping out the finished compost. From here you can apply it directly to the garden, or run it over some hardware cloth as a screen to break up any larger chunks or bits that need more time.
Troubleshooting
We have a guide for that! Check out our compost troubleshooting post if something smells a little stinky. We can fix it!
Please let me know what you think!
Leave a comment below and tag @growingwithgertie on Instagram.
Some of the links listed are affiliate links. This means if you click on a link and purchase the item, I will receive an affiliate commission from the retailer at no cost to you. Thanks for your support!