Building a Greenhouse: Part 1
Dreaming of building your own greenhouse? Start here.

Before building a greenhouse
When my husband and I first started looking for our first home to buy in Southwest Michigan, first on our list of wants was a home that had enough space and sun for a garden. Second up on the wish list was to be within walking distance from the lake, and third was to have a fireplace or wood-burning stove, because… cozy. Luckily, we landed a fixer-upper in our price range that had all three.
What we didn’t know at the time was that with both of us working full-time at farms, DIY gutting and renovating the inside of our house, our number one wish for a garden would fall to the very tippity bottom of the to-do list for six years.
Cue a global pandemic, a career change for me, and the sudden time and energy to focus on the outside of our house… it was time to make our dream come true of building our own greenhouse and garden.
How to choose the best greenhouse
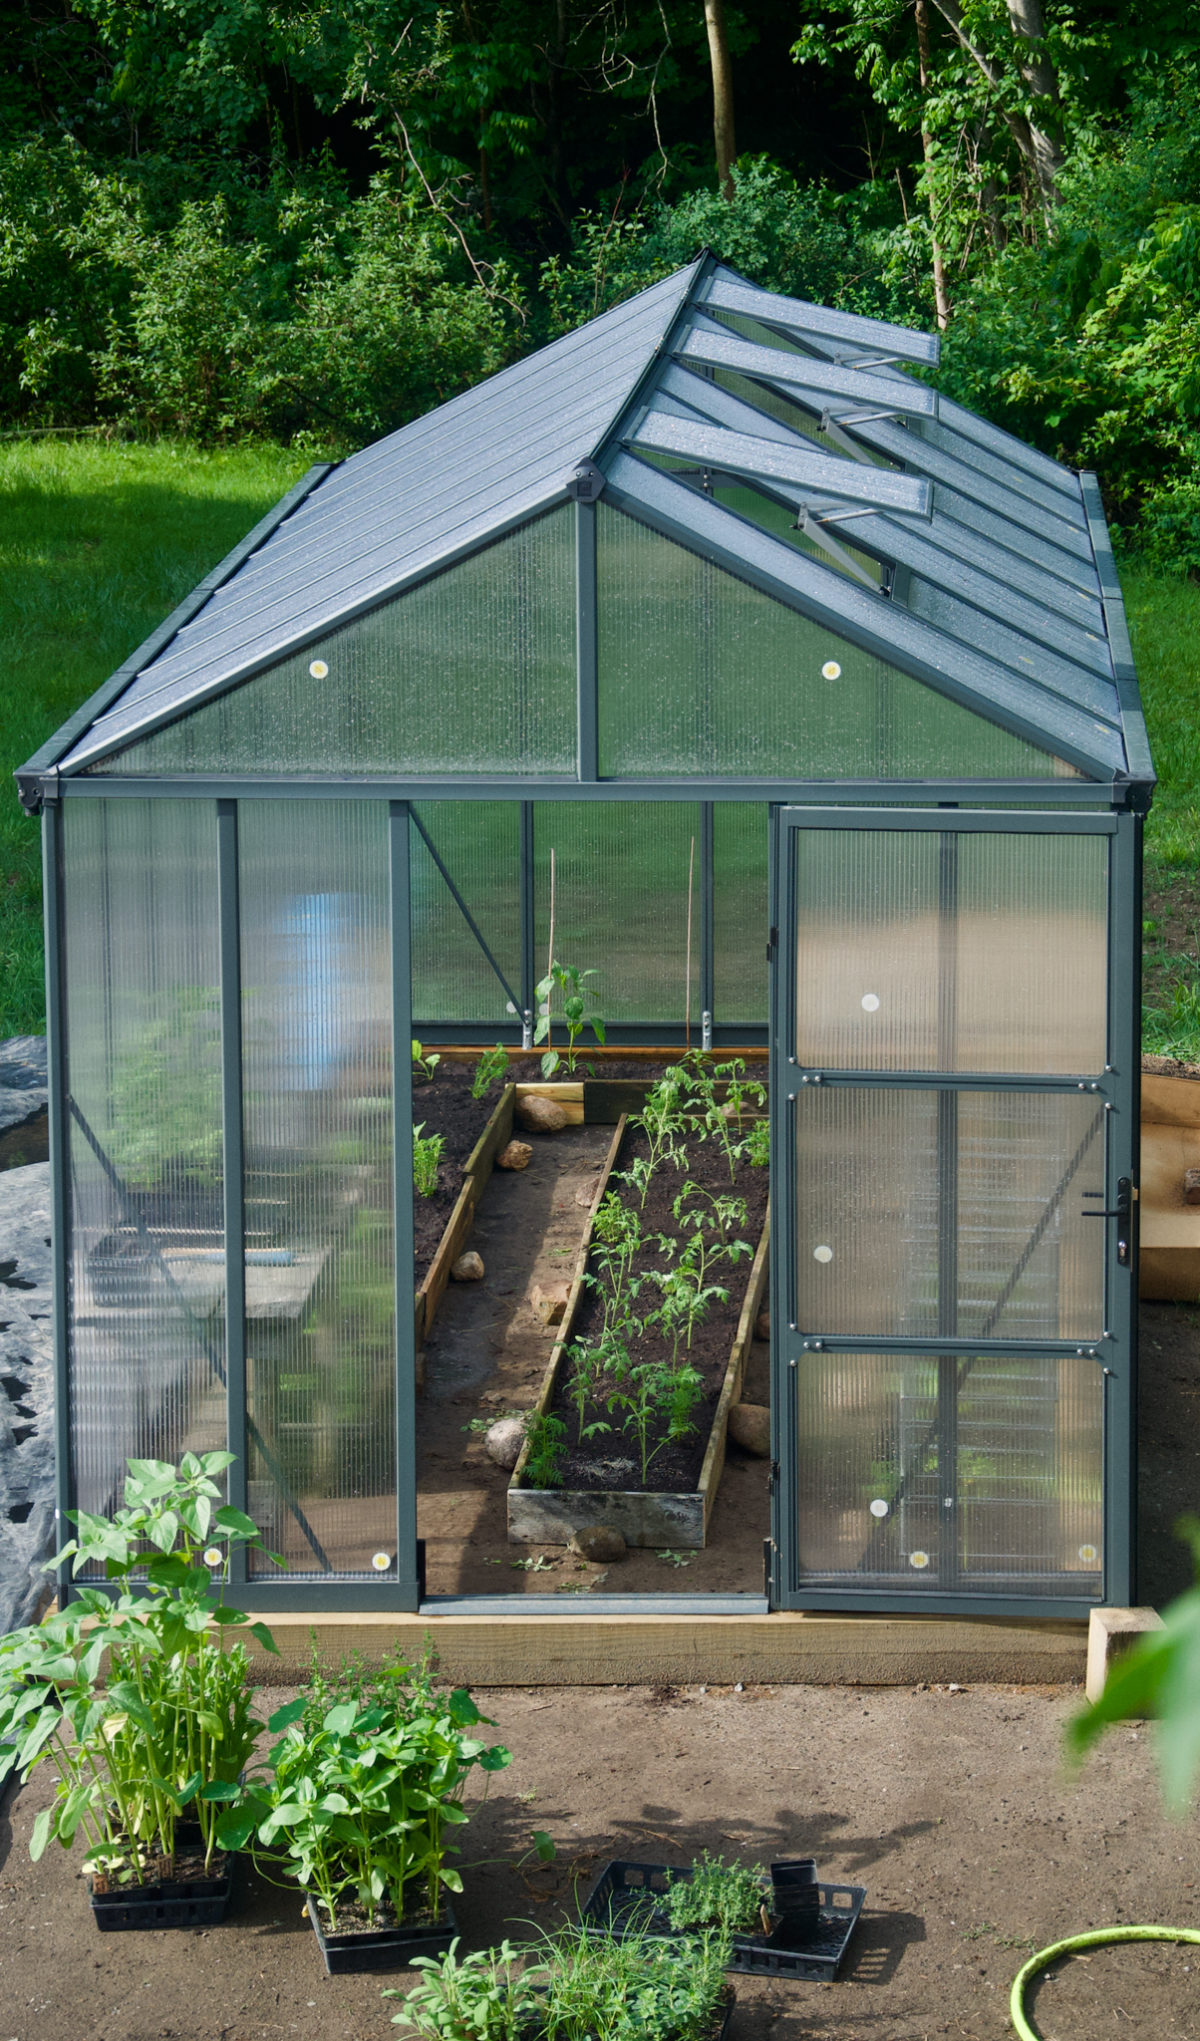
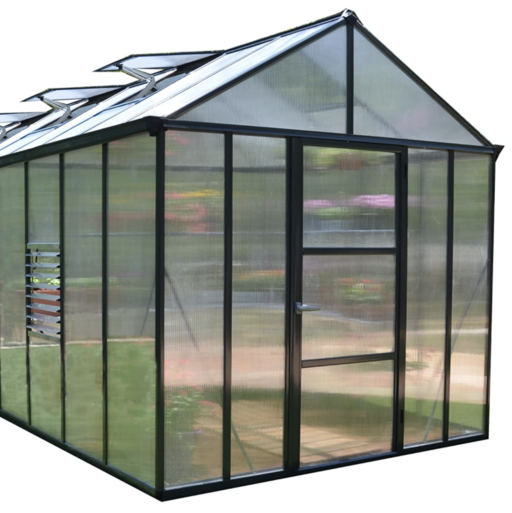
There are so many hobby greenhouses for sale on the market, many of which are, in my opinion, complete garbage, and will likely set a beginner gardener up for failure. After growing in greenhouses year-round for over a decade, we knew what we wanted to utilize the greenhouse for, along with the very real needs of successfully growing in this space. We settled on the Palram Glory 8’x16’ Residential Greenhouse for our backyard. Here’s why:
1. Materials
While glass is the superior material for letting in and dispersing the most sunlight, it’s also wildly expensive and easily prone to damage in our Zone 6 climate. I’ve had tremendous results from growing under polycarbonate panels, and find them easy to maintain, well-insulated and let in plenty of light.
Would I prefer to have a 1500 sq. ft English Tudor glass greenhouse with a boho-chic hammock and tropical plants inside? Yes. Would I be unable to sleep during the first inevitable hail storm of the season? Also yes. Polycarbonate it is. I would shy away from greenhouses with cheaper crystal clear polycarbonate panels that are flimsy and uninsulated. In colder climates, try for 10mm thickness.
2. Ventilation
Airflow baby, airflow. Greenhouses get surprisingly warm, and quickly. Just yesterday was 40 degrees and sunny outside, and the thermometer in the greenhouse said 80. So you can imagine in the summer the important role ventilation plays in not frying your plants to death. It’s also a good growing practice to keep fresh air moving to prevent diseases.
Our greenhouse came with automatic vent openers, triggered to open when the wax inside their canister expands from heat, and then closing and shrinking again when it’s cold. The only downside to these kinds of openers is that you really can’t manually adjust them at all, like when it’s warm but heavy rain is on the way.

3. Size
The Palram Glory greenhouse kit comes in a base 8’x8’ size. You can then add on 4’ extensions up to 20 feet long. We chose to add two extensions to make room for a potting table, and to have lots of precious protected space year-round. Now that we’ve built our greenhouse, I wouldn’t recommend going larger than 8×16’ without improvising some extra center beam roof support.
This was also one of the tallest residential greenhouses we found. Just like that bunk bed too close to the ceiling in your childhood home, you don’t want to bump your head every time you stand up from weeding. The center peak is almost 9’ tall, which is great for tall growing plants like tomatoes, pole beans, cucumbers, etc. And this leads me to my next point….

4. Interior Track System
This might actually be my favorite part of the whole greenhouse. All of the main structural pieces of the greenhouse have an interior channel system that works with their customizable plant hangers. I purchased a few dozen to try and they were strong enough to support my indeterminate tomato plants from the floor to the roof, along with horizontal trellising of unruly peppers, eggplant and tomatillo. I think they’d also be great for shade cloth, row cover or hanging baskets. If you’re someone who likes to make use of vertical space, this is a game-changer.

5. Locking Door
Racoons continually surprise us with their ability to sneak into just about anywhere that tomatoes grow. The locking door is also important for windy days when the door would otherwise blow open.

6. Gutters
Like all structures, you need to plan for drainage. While it’s great that Palram has gutters included with the kit, you should know that they lead to nowhere, and a custom DIY downspout/rain collection system is needed to make full use of this feature. I’ll write more about how we made this work in a future post.
Next up in Part 2 I’ll share our experience putting this kit together, and all the things I wish I knew before we started…
Did you enjoy this post?
Please let me know what you think!
Leave a comment below and tag @growingwithgertie on Instagram.
Some of the links listed are affiliate links. This means if you click on a link and purchase the item, I will receive an affiliate commission from the retailer at no cost to you. Thanks for your support!